Sunday 20 February 2011


I had a frustrating morning trying to make my basket- harder than I thought it was going to be! My first drafts were done in paper so they were easy to fold but when I went onto bigger baskets with thicker paper everything changed! Cartridge paper doesn't bend as well as printer paper! 
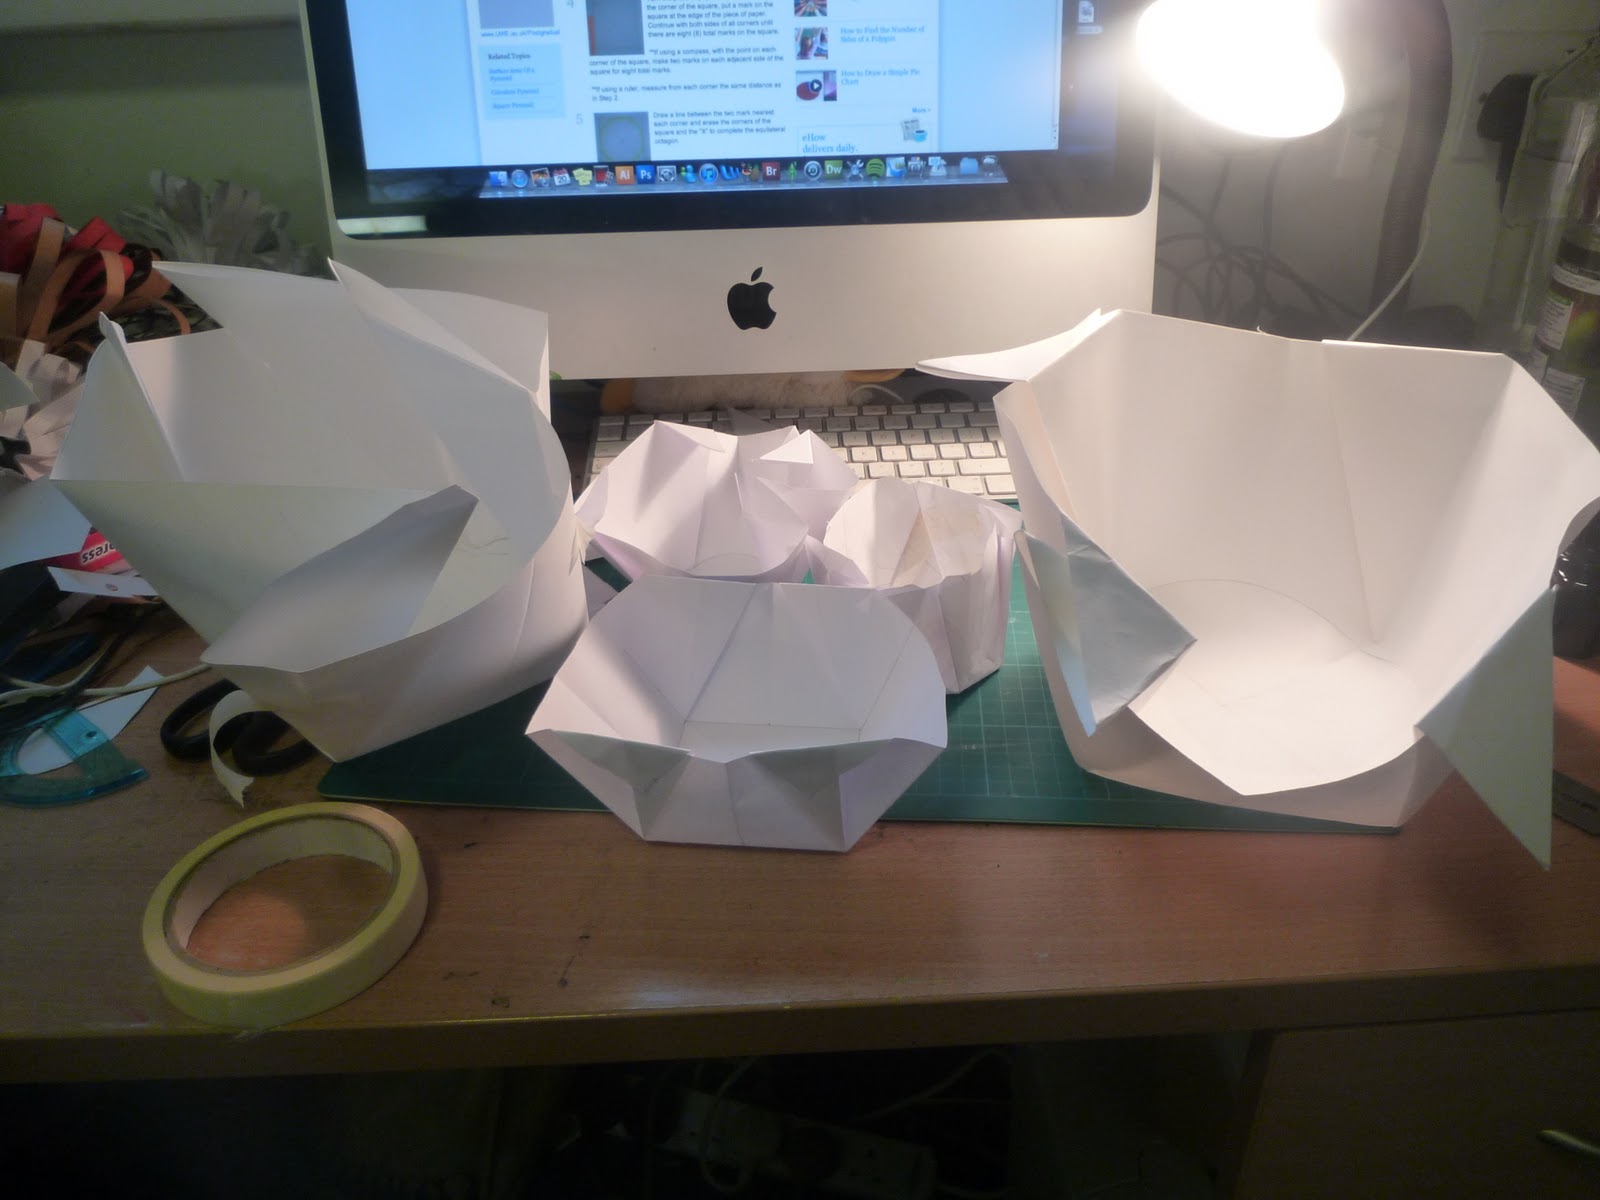
So I was back to square one not knowing what shape my base should be. I tried a circular base in the cartridge paper as it worked quite well in printer paper but it didn't balance well. So then I tried an octagon based one- my GCSE math skills really came into play there, I remembered how to draw a regular octagon! But the basket still looked funny because the paper wouldn't bend properly and everything looked unequal!
By the end of this my room looked like this:


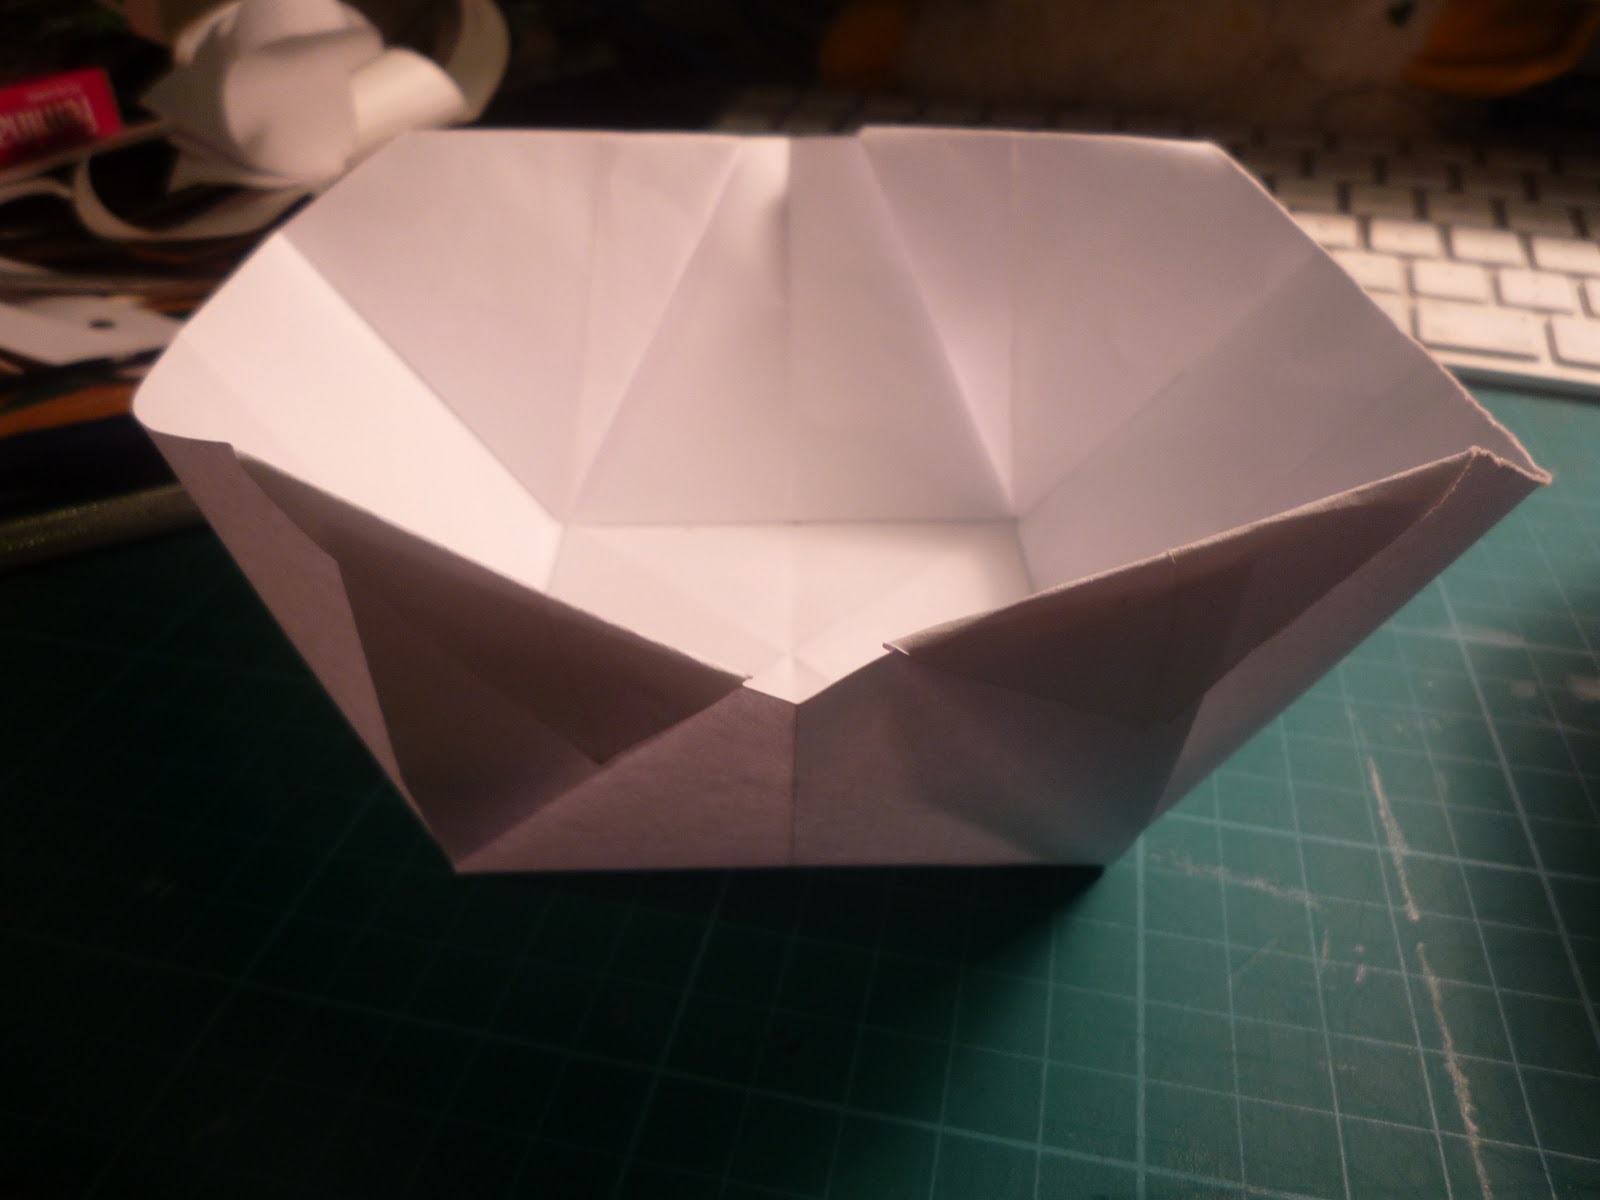
I decided to have another go. This time going for something simple and using a square as my base. 


By working out some angles my basket finally came out equal. I am pleased with it but obviously can't use masking tape on the real thing to keep it together. I was thinking of sewing the sides together as whatever I do you are going to see it so may as well get it looking nice! 

Saturday 19 February 2011

baskets!


I started experimenting with some paper to see how my basket for my hanging basket may turn out. I made a square and a circular shaped base- I prefer the circular base one because it looks more like a hanging basket. 
These models were only small so for the real thing I will have to use much bigger paper sizes. I think I will still stick to white paper though so the basket doesn't draw attention from the flowers. 


I had ago at making this flower out of paper today. It took ages but I think I managed to make it look quite similar! Need to make quite a few of them to hang over my basket though...

Friday 18 February 2011

My garden at home


I thought I would take a couple of photographs of my garden at home ( and for once it wasn't raining!) as there is a large selection of flowers and bushes there. Also I was intrigued as to how the plants climbed up the arches on the second picture as I was unsure of how to secure my sculpture around a pillar in the atrium before I thought of my hanging basket idea. 
The below picture I took in summer of a field near my house. I thought I would include it to emphasise how the same types of flower stick together ad expand into a space. This relates to the hanging baskets as they have a lot of the same type of flower within them. 

Tatton Park Primary Research


I went around Tatton Park's Japanese Gardens for some inspiration on flowers. leaves and trees etc. I thought the scenery was beautiful. I managed to get a few ideas on leaf and petal shapes. Going here did make me wonder about whether I should bring more colour into my sculpture because there was a variety of flowers and bushes. I just worry my final piece will look tacky if I do lots of bright colours! 

Primary Research


The above pictures I took when I went to a garden centre. I felt really stupid taking pictures of the flowers but there isn't many elsewhere at the moment because of the weather! I managed to get a variety of different shaped flowers. 
The pictures below are from bouquets of flowers my mum has around the house. I noticed some flowers have sticky out things in the middle- we learnt what they were called in science but that was years ago! They all had different textures and when you look carefully a lot of them have dots on their petals. 


Inspiration


I knew I wanted to use flowers mostly in my sculpture but I wasn't sure how to make it so it looked good hanging from the atrium. Then I thought of how hanging baskets are hung up so I have found some pictures of hanging baskets to help me work out how to make my sculpture! 
On most of the baskets you can't see the actual basket as flowers hang over the basket. Most have a few different types of flowers but then a lot of each type. Also foliage overhangs the basket. The shape is roughly spherical so I need to try and make a 'ball' of flowers pretty much. How am I going to stick a ball of flowers together...

Flower experimentation


I decided to try and make some smaller flowers to compliment the bigger one I had already made. I made 2 and decided to see what they would look like stuck together. I at first attempted to staple them but that didn't work because of the size of the stapler so I taped the flower heads together. I did not like the way you could see the tape or the fact there was a gap in the middle so I wanted to see what it would look like with a piece of paper around the middle which would hide the tape. I thought it looked okay but I wasn't really pleased with it so I decided to take apart the flowers. 


The one problem with my flowers is they don't look great at the back (that is why I was trying to join them together) so I will have to make some foliage and put the flower facing out in my work to hide the backs. 


I thought this flower looked good made with 2 types of paper. I made it quite small as I am thinking about making a lot of them and clustering them together.